
A Guide to Voiced and Unvoiced Sound for Clear Speech
At the heart of it, the main difference between a voiced and an unvoiced sound comes down to one thing: what your vocal cords are doing.
When a sound is voiced, your vocal cords vibrate, creating a distinct buzzing feeling in your throat. For an unvoiced sound (sometimes called voiceless), there’s no vibration at all—it’s just air passing through.
Understanding the Vocal On-Off Switch
A simple way to think about this is to imagine your voice box, or larynx, has an on-off switch.
When you make a voiced sound, you’re flipping that switch to “on.” This brings your vocal folds—two small bands of muscle—together. As air from your lungs pushes past them, they vibrate rapidly. It’s this vibration that creates the humming or buzzing quality you hear.
For an unvoiced sound, that switch is “off.” Your vocal folds relax and move apart, letting air flow through freely without any buzzing. The sound is created purely by the movement of air as it’s shaped by your tongue, teeth, and lips. This simple on-or-off mechanism is the key difference behind many pairs of sounds in English.
For a quick reference, here’s how the two types of sounds stack up.
Voiced vs Unvoiced Sound at a Glance
| Characteristic | Voiced Sounds (e.g., /z/, /v/, /g/) | Unvoiced Sounds (e.g., /s/, /f/, /k/) |
|---|---|---|
| Vocal Cords | Vibrate (feel a buzz) | Held apart, no vibration |
| Sound Source | Vibration + Airflow | Airflow only |
| Feeling | A clear buzzing in the throat | Just air passing through |
| Example Pair | “Zoo” | “Sue” |
This table gives you the basics, but the best way to grasp the concept is to feel it for yourself.
Feel the Difference Yourself
The easiest way to really get this concept is to feel it in your own throat. This simple, hands-on test gives you immediate feedback and makes the whole idea of voicing click into place.
- Find the Voiced Buzz: Gently place two fingers on the front of your throat, right over your Adam’s apple. Now, make a long, continuous “zzzz” sound, like a bee. You should feel a definite vibration under your fingertips. That’s a voiced sound in action.
- Feel the Voiceless Air: Keep your fingers in the same spot, but this time, make a long “ssss” sound, like a hissing snake. Notice what happens? The vibration instantly disappears. All you’ll feel is the subtle movement of muscles, but that buzzing sensation is gone. That’s an unvoiced sound.
This physical feedback is your most reliable tool for identifying and producing these sounds correctly.
Every consonant in English has this on-or-off quality. Some sounds even come in pairs where the only difference is this voicing—your mouth is in the exact same position for both. Think about “fan” (/f/) and “van” (/v/). The only thing that changes is whether you flip that vocal switch on. Even the tricky “th” sounds follow this rule, which we break down in our detailed guide on the two sounds of TH.
Mastering this awareness is the first major step toward achieving clearer, more precise pronunciation.
How Your Vocal Cords Produce Voiced Sounds
To really get the difference between voiced and unvoiced sounds, you have to look under the hood at your own personal “speech engine”—the larynx, or what most of us just call the voice box. Tucked inside are your vocal folds, which are like two small, flexible bands. What they do, or don’t do, is the secret to everything.
When you make a voiced sound, these vocal folds pull close together. As air travels up from your lungs, it has to force its way through this tiny gap, which makes the folds vibrate incredibly fast. That vibration creates a distinct buzzing that you can both feel in your throat and hear in sounds like /v/, /z/, and /d/. It’s a physical event.
Now, for an unvoiced sound, the opposite happens. The vocal folds are held apart, creating a wide-open runway for the air. It just flows right through without any vibration at all. The sound gets its shape entirely from your lips, tongue, and teeth, which results in those airy, hissing sounds like /f/, /s/, and /t/.
This flowchart gives you a clean visual of how these two sound types are born.

The big idea here is the direct link between a physical action (vibration) and the sound that comes out. Once you truly grasp this connection, pronunciation stops being some abstract concept and becomes a concrete, physical skill you can actually control.
Why This Matters for How We Hear
This physical difference isn’t just about making sounds; it’s also the key to how our brains perceive them. The pitch created by that vocal fold vibration—known as the fundamental frequency—is one of the main cues our brains use to tell different sounds apart in a stream of speech.
Research into how we process language confirms just how vital these frequency differences are. In some fascinating studies, listeners were much better at separating sequences of sounds when there was a bigger pitch difference between the voiced vowels and the unvoiced fricatives (like the /s/ sound).
Understanding this mechanism empowers you to gain conscious control over your speech. You are no longer just memorizing rules; you are physically manipulating your voice box to produce the exact voiced and unvoiced sound you intend to make.
This control is the foundation for mastering clear and accurate pronunciation. Every single one of the 44 sounds in English can be classified by whether it’s voiced or unvoiced, making it a central principle in speech clarity. To see how this applies across the board, check out our guide on how to pronounce all 44 sounds in English. By focusing on the physical action, you can build muscle memory that makes correct pronunciation feel completely automatic.
Mastering Pronunciation With Minimal Pairs
Now that you have a good handle on the mechanics behind voiced and unvoiced sounds, let’s look at how this one tiny distinction can completely change the meaning of a word. This is where a powerful practice tool called minimal pairs comes into play.
Minimal pairs are simply two words that sound exactly the same—except for one single sound. In our case, that one difference is voicing. One word uses an unvoiced consonant, while its partner uses the voiced version of that exact same sound. It’s a tiny shift that creates an entirely new word.
This concept is so important because it gets to the heart of clear communication. A small, accidental shift in vibration can lead to some pretty big misunderstandings. For instance, saying “I need a new fan” is worlds away from saying “I need a new van.” The only thing separating those two words is the voiceless /f/ and the voiced /v/.
Why Minimal Pairs Are So Effective
Here’s the secret sauce: practicing with minimal pairs trains your mouth and your ears at the same time. You’re physically learning how to make the distinction between sounds while also getting better at hearing it. This two-pronged approach builds muscle memory and sharpens your auditory discrimination, making correct pronunciation feel more and more automatic.
By zeroing in on just that one point of contrast, you can pour all your energy into mastering the one thing that matters: turning your voice “on” or “off” at the right moment.
The beauty of minimal pairs is their simplicity. By focusing on just one variable—the presence or absence of vocal cord vibration—you can make targeted, noticeable improvements in your speech clarity without feeling overwhelmed.
Let’s put this into action. Grab a few of the most common pairs in English and say them out loud. As you do, keep your fingers on your throat to really feel the difference.
Common Voiced and Unvoiced Minimal Pairs in English
Here is a table packed with clear examples you can use for daily practice. The key is to say each pair out loud, maybe even exaggerating the final sound a bit to truly feel the contrast between the unvoiced and voiced consonants.
| Unvoiced Sound | Example Word | Voiced Sound | Example Word |
|---|---|---|---|
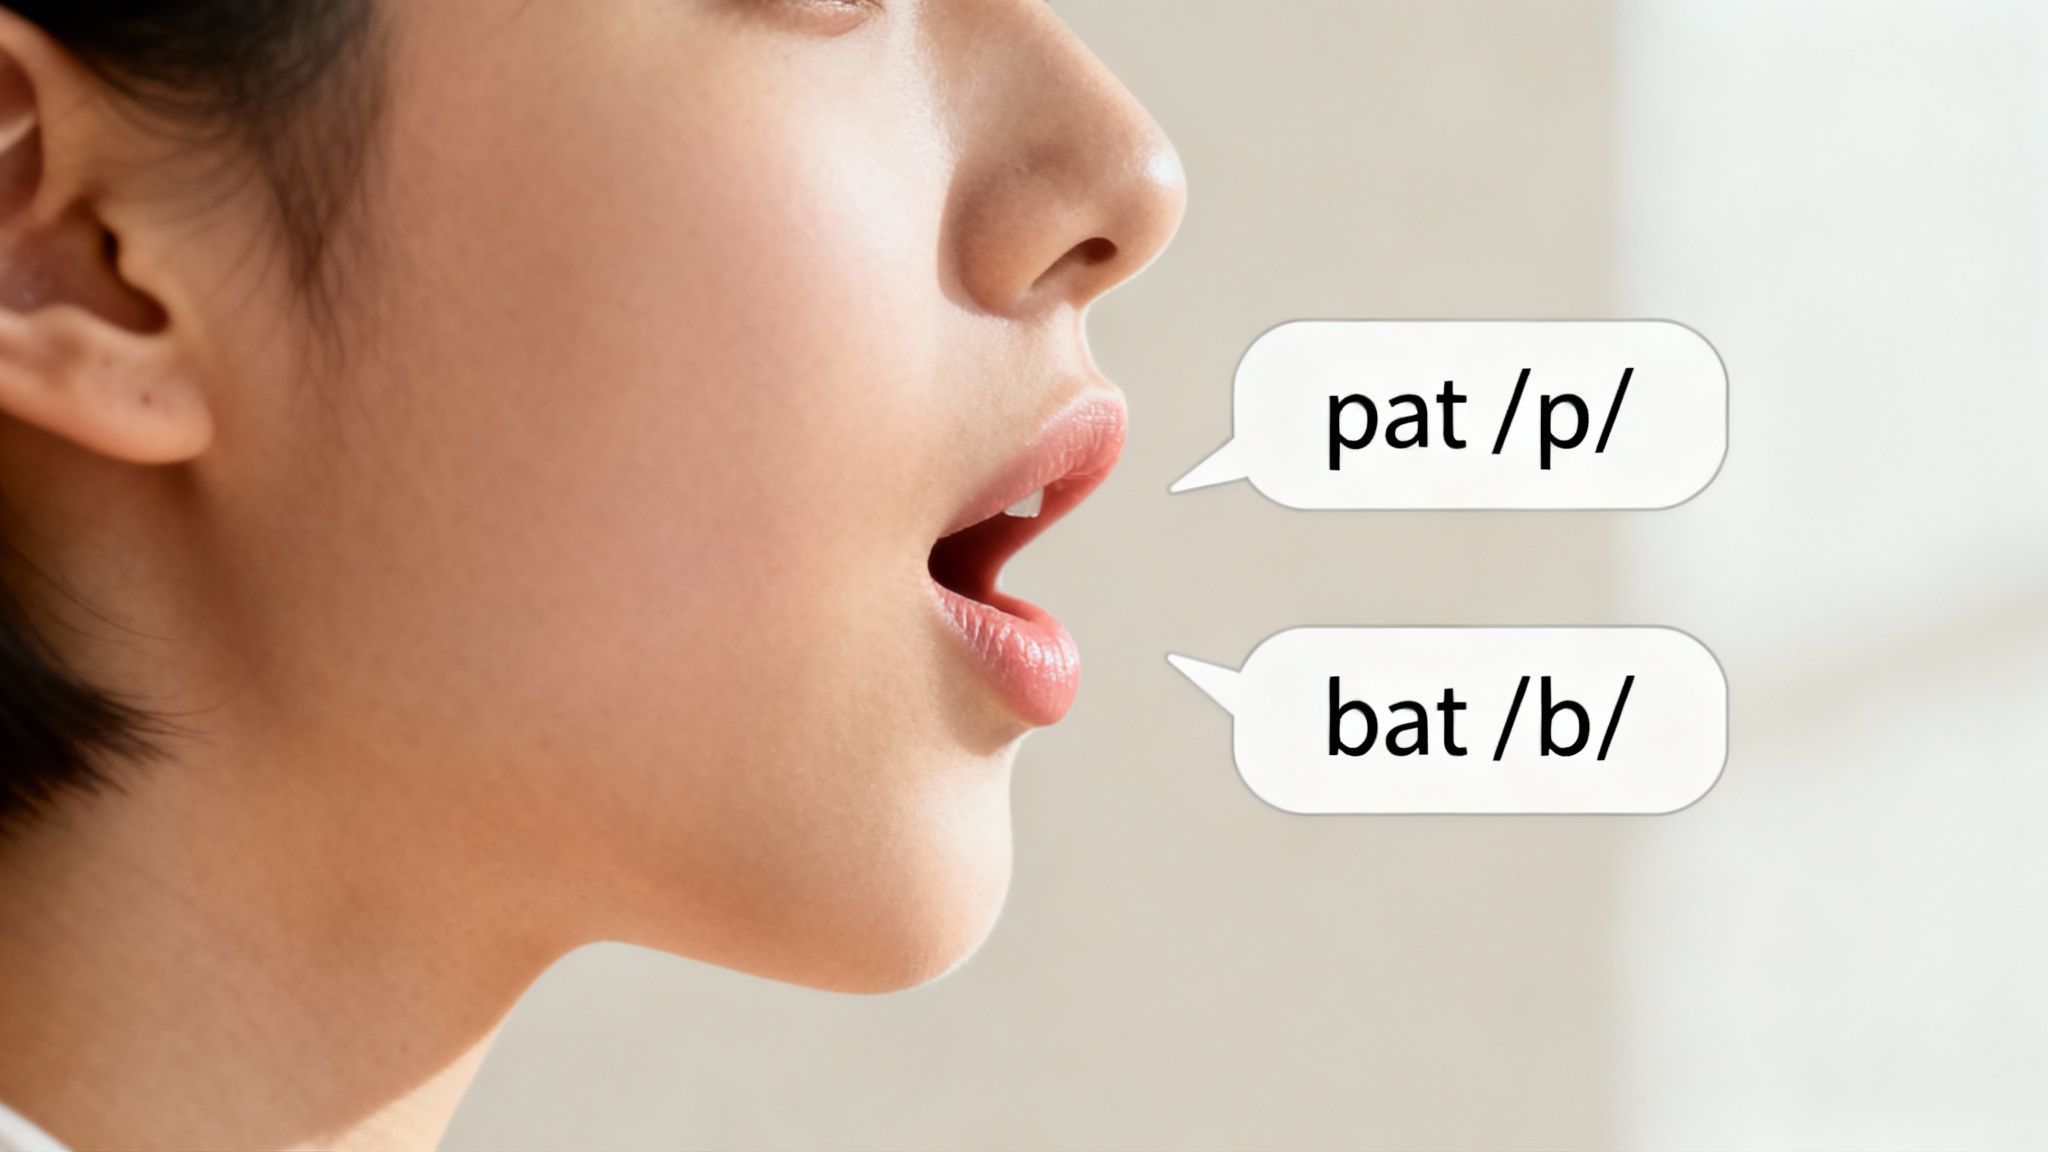
| /p/ | pat | /b/ | bat |
| /t/ | ten | /d/ | den |
| /k/ | coat | /g/ | goat |
| /f/ | fan | /v/ | van |
| /s/ | sue | /z/ | zoo |
| /θ/ (thin) | thigh | /ð/ (the) | thy |
Working with pairs like these is how you graduate from just knowing the theory to actually using these sounds correctly in your everyday speech. Consistent practice is what makes these distinctions feel natural and effortless. For a deeper dive into this technique, you can explore our full guide on how to use minimal pairs to correct your English pronunciation.
This targeted approach helps you sidestep common pronunciation mistakes, ensuring your message lands exactly as you intended. Up next, we’ll cover some simple diagnostic tests you can use to check how you’re producing these sounds.
Simple Tests to Hear and Feel the Difference
Understanding the theory is one thing, but actually feeling these sounds in your own mouth and throat is what makes the concept click. It’s the difference between reading a recipe and tasting the dish.
Beyond just placing a hand on your throat, there are a couple of powerful diagnostic checks you can do right now. They don’t require any fancy equipment—just you, your voice, and a moment of focused attention.
Let’s start with a surprisingly effective trick that instantly separates the two types of sounds.

The Whisper Test
A whisper is the perfect tool for isolating an unvoiced sound. When you whisper, you’re speaking without any vocal cord vibration, which means voiced sounds lose their power and almost vanish.
Give this a try:
- Say a Voiced Sound: First, say the word “zoo” out loud at your normal volume. Now, whisper it. Can you hear how the initial “z” sound fizzles out? It becomes weak, almost like a soft “s” sound. The signature buzz is completely gone.
- Say an Unvoiced Sound: Next, say the word “sue” out loud. Now, whisper it. The “s” sound stays sharp and clear. It sounds pretty much the same because it never had any vocal cord vibration to begin with.
This little experiment makes it obvious: voiced sounds depend on that vibration to exist, while unvoiced sounds are all about the airflow.
The Paper Test
Here’s another great physical test. This one lets you see the strong puff of air—what linguists call aspiration—that explodes out with unvoiced sounds like /p/, /t/, and /k/. You’ll find that puff is much weaker for their voiced twins.
Here’s how you do it:
- Grab a small, light piece of paper, like a sticky note, and hold it about an inch from your lips.
- First, say the word “pin.” You should see the paper jump and flutter from the burst of air shooting out with the /p/ sound.
- Now, say the word “bin.” The paper will barely move, if at all.
Your mouth makes almost the exact same shape for both sounds. The only real difference is that the voiced /b/ sound switches on your vocal cords right away, which dampens that explosive puff of air. This gives you concrete, physical proof of whether you’re producing a voiced and unvoiced sound correctly.
Think of these simple, hands-on exercises as your own personal pronunciation coach. They offer immediate, tangible feedback that connects the abstract concepts to the physical act of speaking.
Running through these tests regularly is a fantastic way to build self-awareness. It’s a critical first step as you learn how to train your ear to recognize English sounds accurately, making you a much more precise and confident speaker.
Practical Drills for Professional Speech Clarity
Knowing the theory behind voiced and unvoiced sounds is one thing. But turning that knowledge into a reliable skill you can count on in a high-stakes meeting? That’s the real goal.
Targeted drills are what bridge that gap, building the muscle memory and auditory sharpness you need to speak with authority. The focus here is simple: consistency. We want this to be automatic, so your speech is crystal clear when it matters most.
These exercises are designed to move you beyond single words and into the natural flow of conversation. This is where the magic happens, helping you master the quick, seamless transitions between sounds that define clear, professional speech.
Minimal Pair Sentence Drills
Let’s start by practicing sentences that force you to switch between similar voiced and unvoiced sounds. Placing these contrasting sounds so close together is a fantastic way to sharpen your control.
For the best results, record yourself saying these sentences and then listen back with a critical ear.
- Practice /s/ vs. /z/: “She had to choose between the rich prize and the white rice.”
- Practice /f/ vs. /v/: “He drove the fast van past the cooling fan.”
- Practice /t/ vs. /d/: “He tried to tend to the tear in his tent.”
That simple act of recording gives you invaluable feedback. Can you hear a distinct buzz for the voiced sounds? Is the unvoiced sound airy and crisp? Consistent practice builds the neural pathways that make this distinction second nature.
Focus on Word Endings
One of the most common trip-ups with voicing happens at the end of words. It’s a subtle but powerful area where a single sound can change the entire meaning of a word, especially with plurals and past-tense verbs.
Think about the “-s” ending. It’s pronounced as an unvoiced /s/ after an unvoiced sound (like in “maps”), but as a voiced /z/ after a voiced sound (like in “tabs”).
The difference between “ropes” (/s/) and “robes” (/z/) is subtle but absolutely critical for clarity. Mastering these endings ensures your message lands exactly as you intended.
Here are a few drills to really target those specific endings:
- Unvoiced /s/ endings: “He checks the maps, fills the gaps, and avoids the traps.”
- Voiced /z/ endings: “She drags the bags while the dog wags its tail.”
By integrating these kinds of drills into your routine, you’re actively refining your speech. The payoff is huge: you’ll sound more polished, professional, and undeniably clear. And for even more structured exercises, our guide on vocal warm-ups and tongue twisters offers some great material to add to your daily practice.
Interestingly, getting this right doesn’t just help human listeners. Clear articulation, especially the distinction between voiced and unvoiced sounds, dramatically improves the accuracy of automated tools like podcast transcription tools. It’s a skill with benefits that echo across all forms of modern communication.
Got Questions About Voicing? We’ve Got Answers.
Even after getting the hang of the basics, a few common questions always seem to pop up about voiced and unvoiced sounds. Let’s tackle them head-on to clear up any lingering confusion.
Why Is This So Hard for Some People?
If you’re finding this tricky, you’re not alone. For most non-native English speakers, the challenge boils down to what your brain is already used to. If your native language doesn’t use the distinction between a voiced and unvoiced sound to change a word’s meaning, your ear simply isn’t trained to catch it.
Think about it this way: if your first language doesn’t have a /z/ sound, your brain’s natural shortcut is to swap it for the closest thing it knows—usually an /s/ sound. This isn’t a hearing problem; it’s your brain efficiently falling back on its deeply ingrained phonetic muscle memory. The goal here is to carve out new neural pathways through focused, repetitive practice.
Does Mastering This Really Make a Big Difference in My Accent?
Yes, it’s a game-changer. Correctly using voiced and unvoiced sounds is one of the absolute cornerstones of a clear, standard American English accent. When a native listener hears incorrect voicing, it’s often one of the biggest flags that a person is a non-native speaker.
Mastering the subtle shift between a voiced sound like /d/ and its unvoiced counterpart /t/ can instantly make your speech sound clearer and more natural. It directly impacts rhythm, word linking, and overall intelligibility.
This isn’t just about sounding “better.” It’s about being understood the first time, every time. This level of control is what separates speech that is merely understandable from speech that is effortlessly clear—a crucial distinction in any professional setting.
How Can I Possibly Practice With My Crazy Schedule?
The secret is consistency over intensity. You don’t need to find a spare hour in your day—in fact, that’s often less effective. Instead, embrace the idea of “micro-drilling” for just a few minutes whenever you can.
Here are a few ways to sneak it in:
- Commute Drills: Driving to work or sitting on the train? Pick one minimal pair like “fan” and “van.” Say it aloud ten times, really focusing on the vibration (or lack thereof).
- Vocal Reminders: Set a couple of alarms on your phone with labels like “Voicing Check.” When one goes off, take just 60 seconds to practice a single practice sentence. That’s it.
- Active Reading: As you’re scrolling through emails or reading an article, don’t just skim. When you see a word with one of your target sounds, say it out loud with the correct vibration.
These tiny, consistent efforts are what build powerful, lasting habits without forcing you to overhaul your entire schedule.
Putting It All Together
You’ve just been through a crash course in voiced and unvoiced sounds. We’ve covered what they are, how your vocal cords create them, and why getting them right is so crucial for clear, professional English. The real work, of course, starts now—when you take this knowledge and apply it to your everyday conversations.
Start paying close attention to how native speakers use the voiced and unvoiced sound distinction in meetings, on podcasts, or even on TV. Keep practicing the drills we’ve covered until they feel less like a conscious effort and more like second nature. This consistent practice is the only way to build the muscle memory needed for lasting change.
For a deeper dive into other aspects of pronunciation and speech clarity, you might find some useful articles over on the Parakeet AI blog.
Are you ready to be understood the first time, every time? The coaches at Intonetic can give you the personalized feedback and advanced training you need to master these sounds and more.
Book your free, no-obligation assessment today at https://intonetic.com.